If something is not missing in the Toolbox - it surely is stickers. However, there is always need for more, new creations. With the help of the cutting plotter from the silk-screen printing room and some adhesive foil you can easily give new sticky ideas a chance.
The cutting plotter looks very much like a printer and is also related to it - if the pen cartridge is installed, you can simply create drawings with it. If, however, a cutter is used, the plotter can cut materials such as cardboard, paper or (adhesive) foil. All that is needed is a vector graphic that depicts the desired motif as contours. What makes the vector graphic different from the usual pixel graphic is most likely that the picture is not saved in single pixels but in the shape of curves, lines, paths, etc.). That way the picture can easily be changed in size without losing in quality or becoming pixelated.
When preparing such picture, you have to be quite sure what it should look like in the end. In most cases, you will create a single-color picture (multi-color is also possible but a lot more time-consuming as the final sticker has to be put together from several individually-cut parts). Some motifs only work in certain color combinations, e.g. light color on black background etc. It is also worth scrolling through the different offers of foils, e.g. there are also neon adhesive foils, hologram foils or glow-in-the-dark foils.
As soon as the graphics to be cut are created, the plotter can read them from a USB drive and you can arrange, scale or mirror them via the device display. Now you attach the adhesive foil to the cutting mat of the plotter, feed it into the plotter and the cutting process can be started. Before doing so make sure to set the cutting depth to the material used so that only the foil is cut and not the carrier paper.
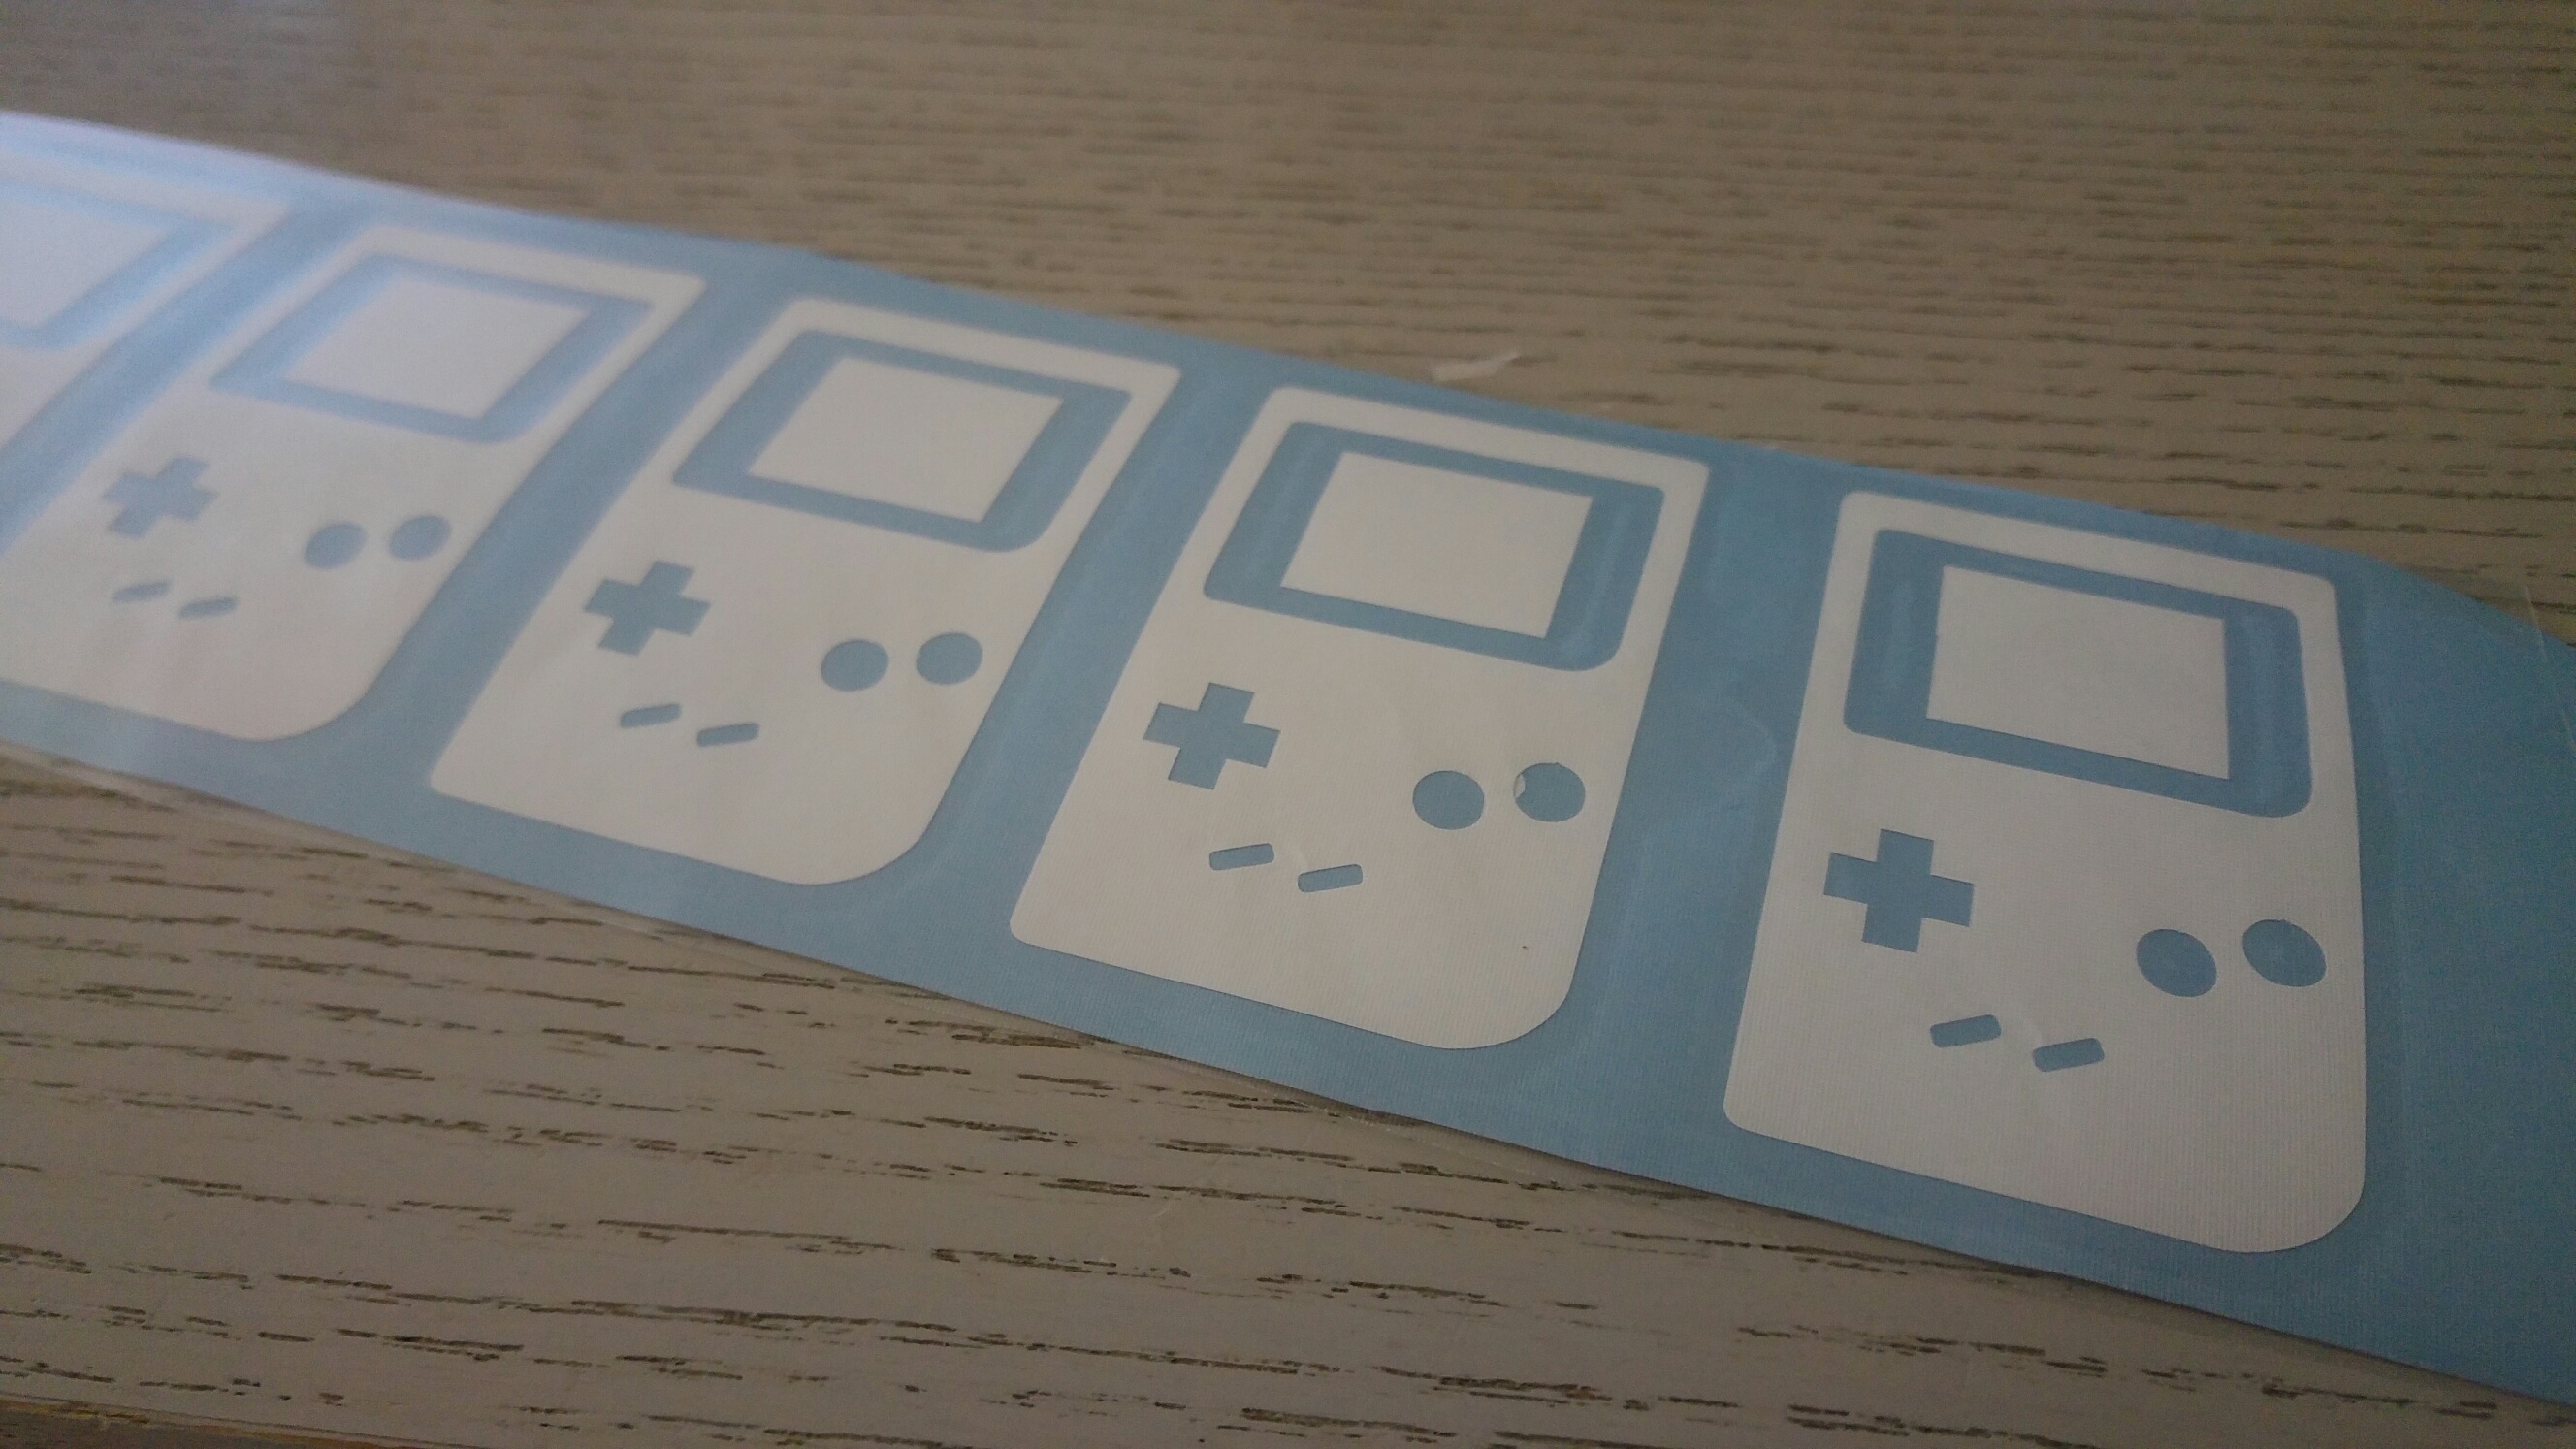
As soon as the cutting process is finished, you have to free the cut stickers from the surrounding remaining material. For very delicate motifs that can be very hardscrabble but in the end works without any problems. In order to attach the sticker somewhere (especially for multi-part motifs, e.g. letters that make a word) you stick a so-called transfer foil to the surface of the sticker that makes it possible to remove the sticker from the carrier paper and to place it in one piece to the intended surface (which you might know from stickers for the rear car window).
Detailed instructions as well as a list of tried and tested materials can be found in the Toolbox Wiki at https://wiki.toolbox-bodensee.de/doku.php?id=werkzeuge_maschinen:schneideplotter